How to Build a Gaming PC in 2024: A Comprehensive Step-by-Step Guide
Building your own gaming PC is a rewarding experience that offers unmatched performance, customization, and value. Whether you're a seasoned gamer or a beginner, this comprehensive guide will walk you through each step of the process. From selecting the right components to assembling your machine and optimizing it for peak performance, we've got you covered. Let's dive in and start building your dream gaming PC for 2024!
Table of Contents
- Introduction: Why Build Your Own Gaming PC?
- Planning Your Build
- Choosing Your Components
- Preparing Your Workspace
- Step-by-Step Assembly Guide
- 1. Install the CPU on the Motherboard
- 2. Install the RAM
- 3. Install the M.2 SSD (If Applicable)
- 4. Mount the Motherboard into the Case
- 5. Install the Power Supply
- 6. Connect Case Cables to the Motherboard
- 7. Install the CPU Cooler
- 8. Install Additional Storage Drives
- 9. Install the Graphics Card
- 10. Cable Management
- First Boot and BIOS Configuration
- Installing the Operating System and Drivers
- Optimizing and Testing Performance
- Troubleshooting Common Issues
- Maintaining and Upgrading Your PC
- Conclusion
- Frequently Asked Questions (FAQs)
Introduction: Why Build Your Own Gaming PC?
Building your own gaming PC allows you to tailor your system to your specific needs, whether it's high-resolution gaming, streaming, or content creation. Here are some key benefits:
- Customization: Choose components that match your performance needs and aesthetic preferences.
- Cost-Effectiveness: Get more value by selecting parts that offer the best performance per dollar.
- Upgrade Path: Easily upgrade individual components in the future without replacing the entire system.
- Learning Experience: Gain a deeper understanding of how your PC works, which can help with future troubleshooting and upgrades.
Planning Your Build
Setting a Budget
Determine how much you're willing to spend. Components range from budget-friendly to high-end, so having a clear budget helps you make informed decisions.
- Budget Build: $800 - $1000
- Mid-Range Build: $1000 - $1500
- High-End Build: $1500 and above
Understanding Your Needs
- Gaming Preferences: Are you playing AAA titles at high settings or esports games that require high frame rates?
- Additional Uses: Will you be streaming, video editing, or running resource-intensive applications?
- Future-Proofing: Consider components that will keep your PC relevant for years to come.
Researching Components
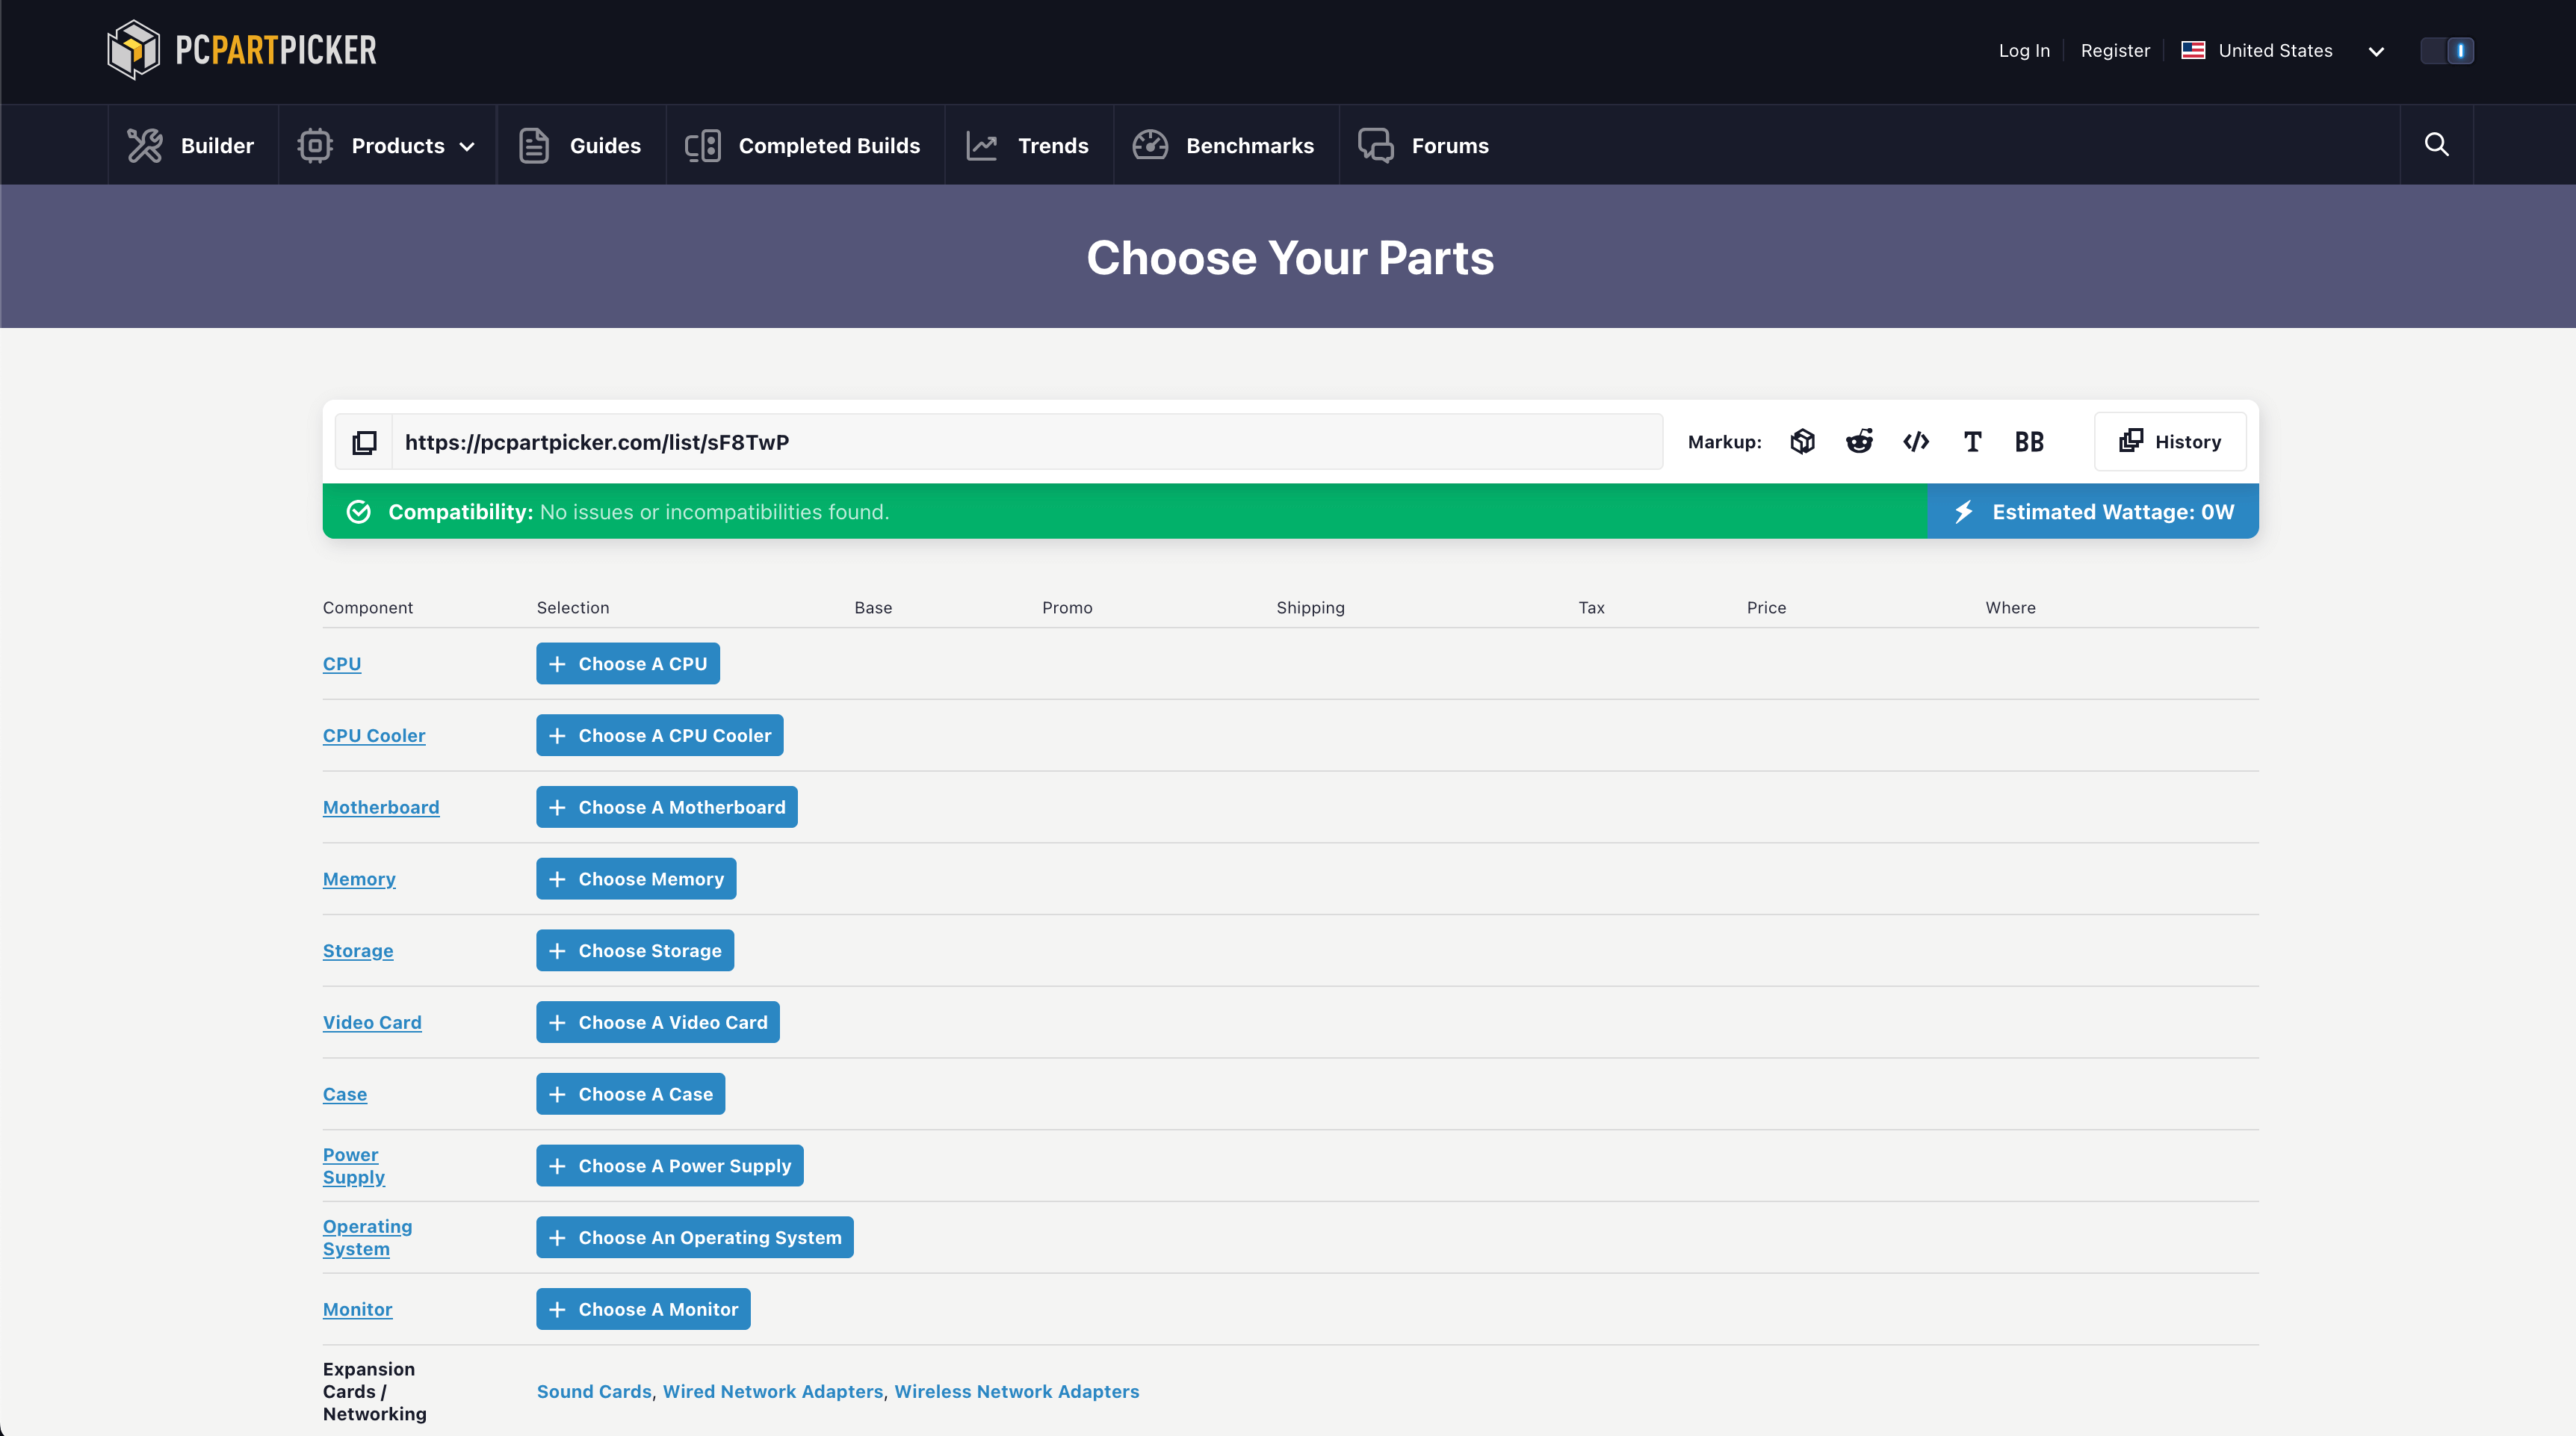
Use resources like PCPartPicker to check compatibility and read reviews. This site also helps you keep track of your budget as you select parts.
Choosing Your Components
Let's go through each essential component and what to look for.
Central Processing Unit (CPU)
The CPU is the brain of your PC. It handles all the calculations and tasks required to run your games and applications.
Factors to Consider
- Core Count and Threads: More cores can handle more tasks simultaneously.
- Clock Speed: Higher GHz means faster performance.
- Socket Compatibility: Ensure it matches your motherboard socket.
See Intel's explanation of CPU clock speed.
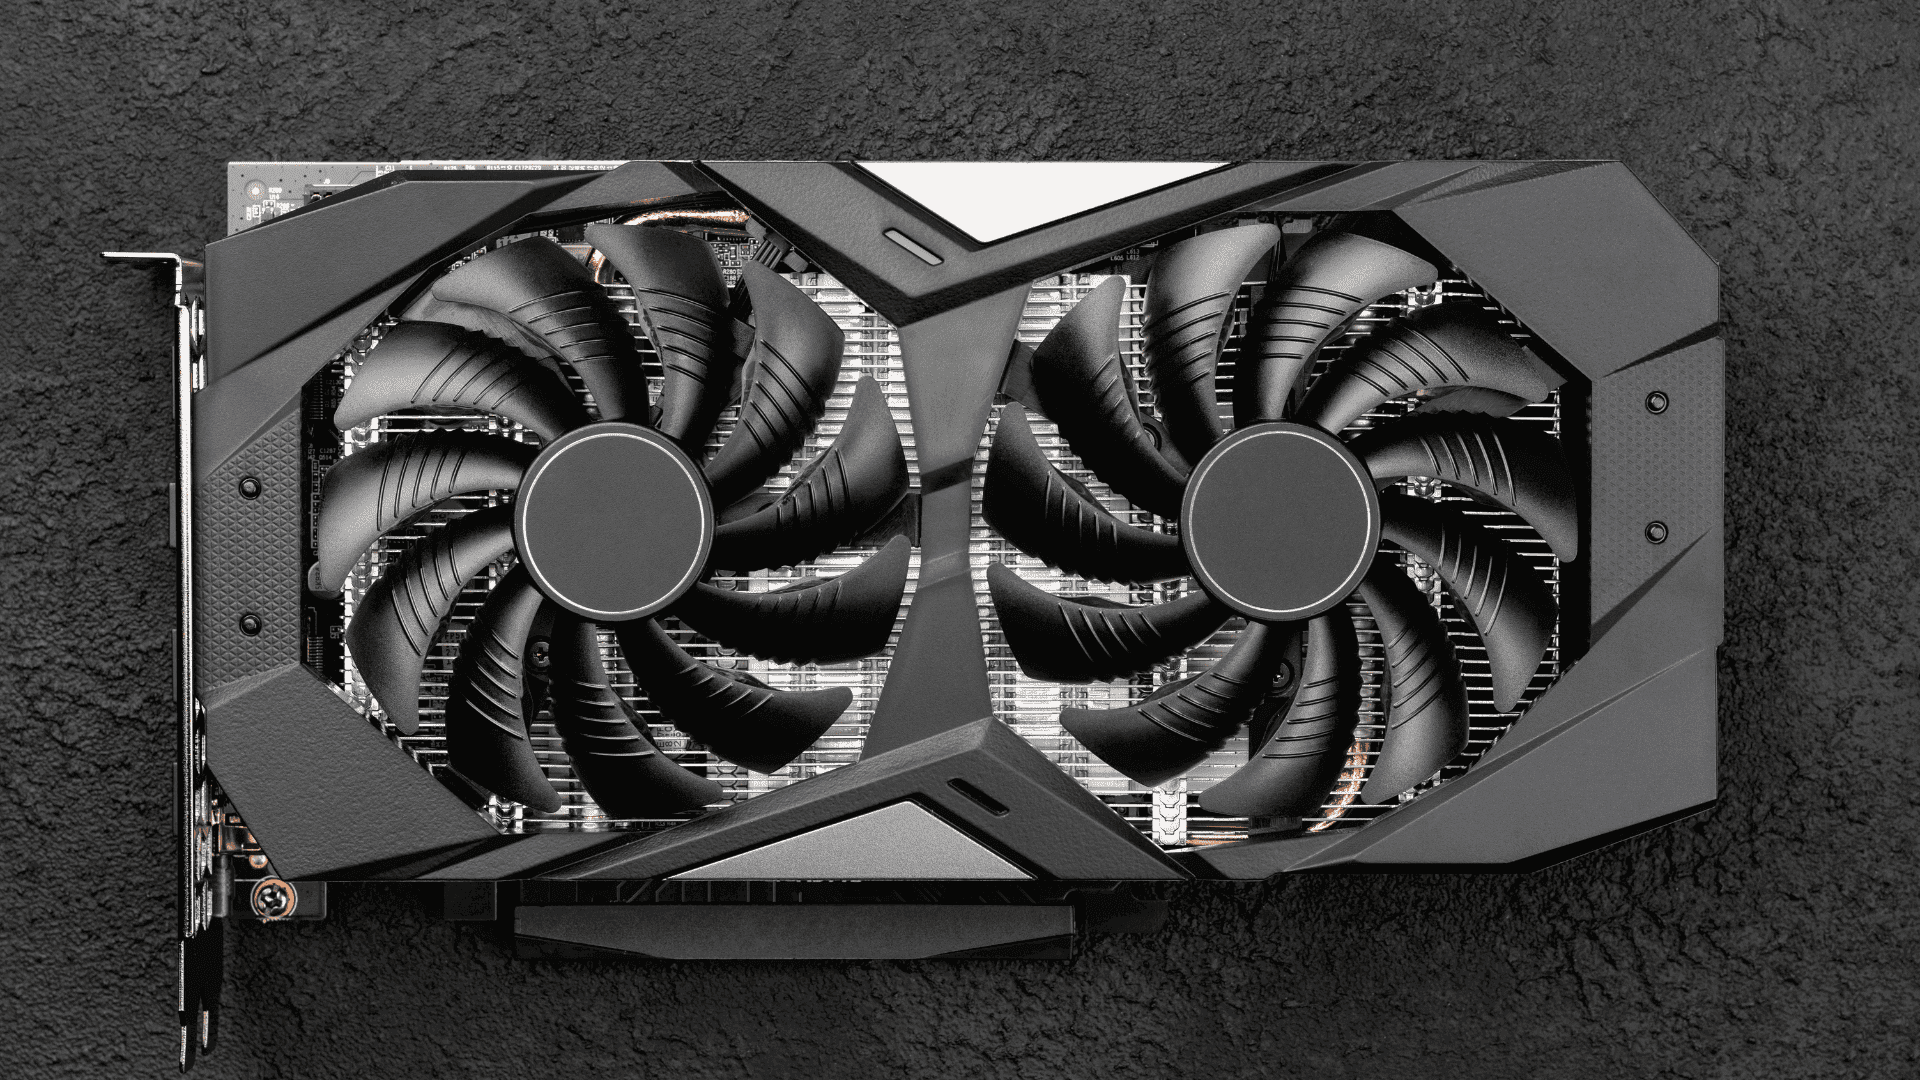
Graphics Processing Unit (GPU)
The GPU renders images, videos, and animations. It's crucial for gaming performance.
Factors to Consider
- VRAM: More VRAM allows for higher resolution textures.
- CUDA Cores/Stream Processors: Determines processing power.
- Ray Tracing Support: For realistic lighting effects.
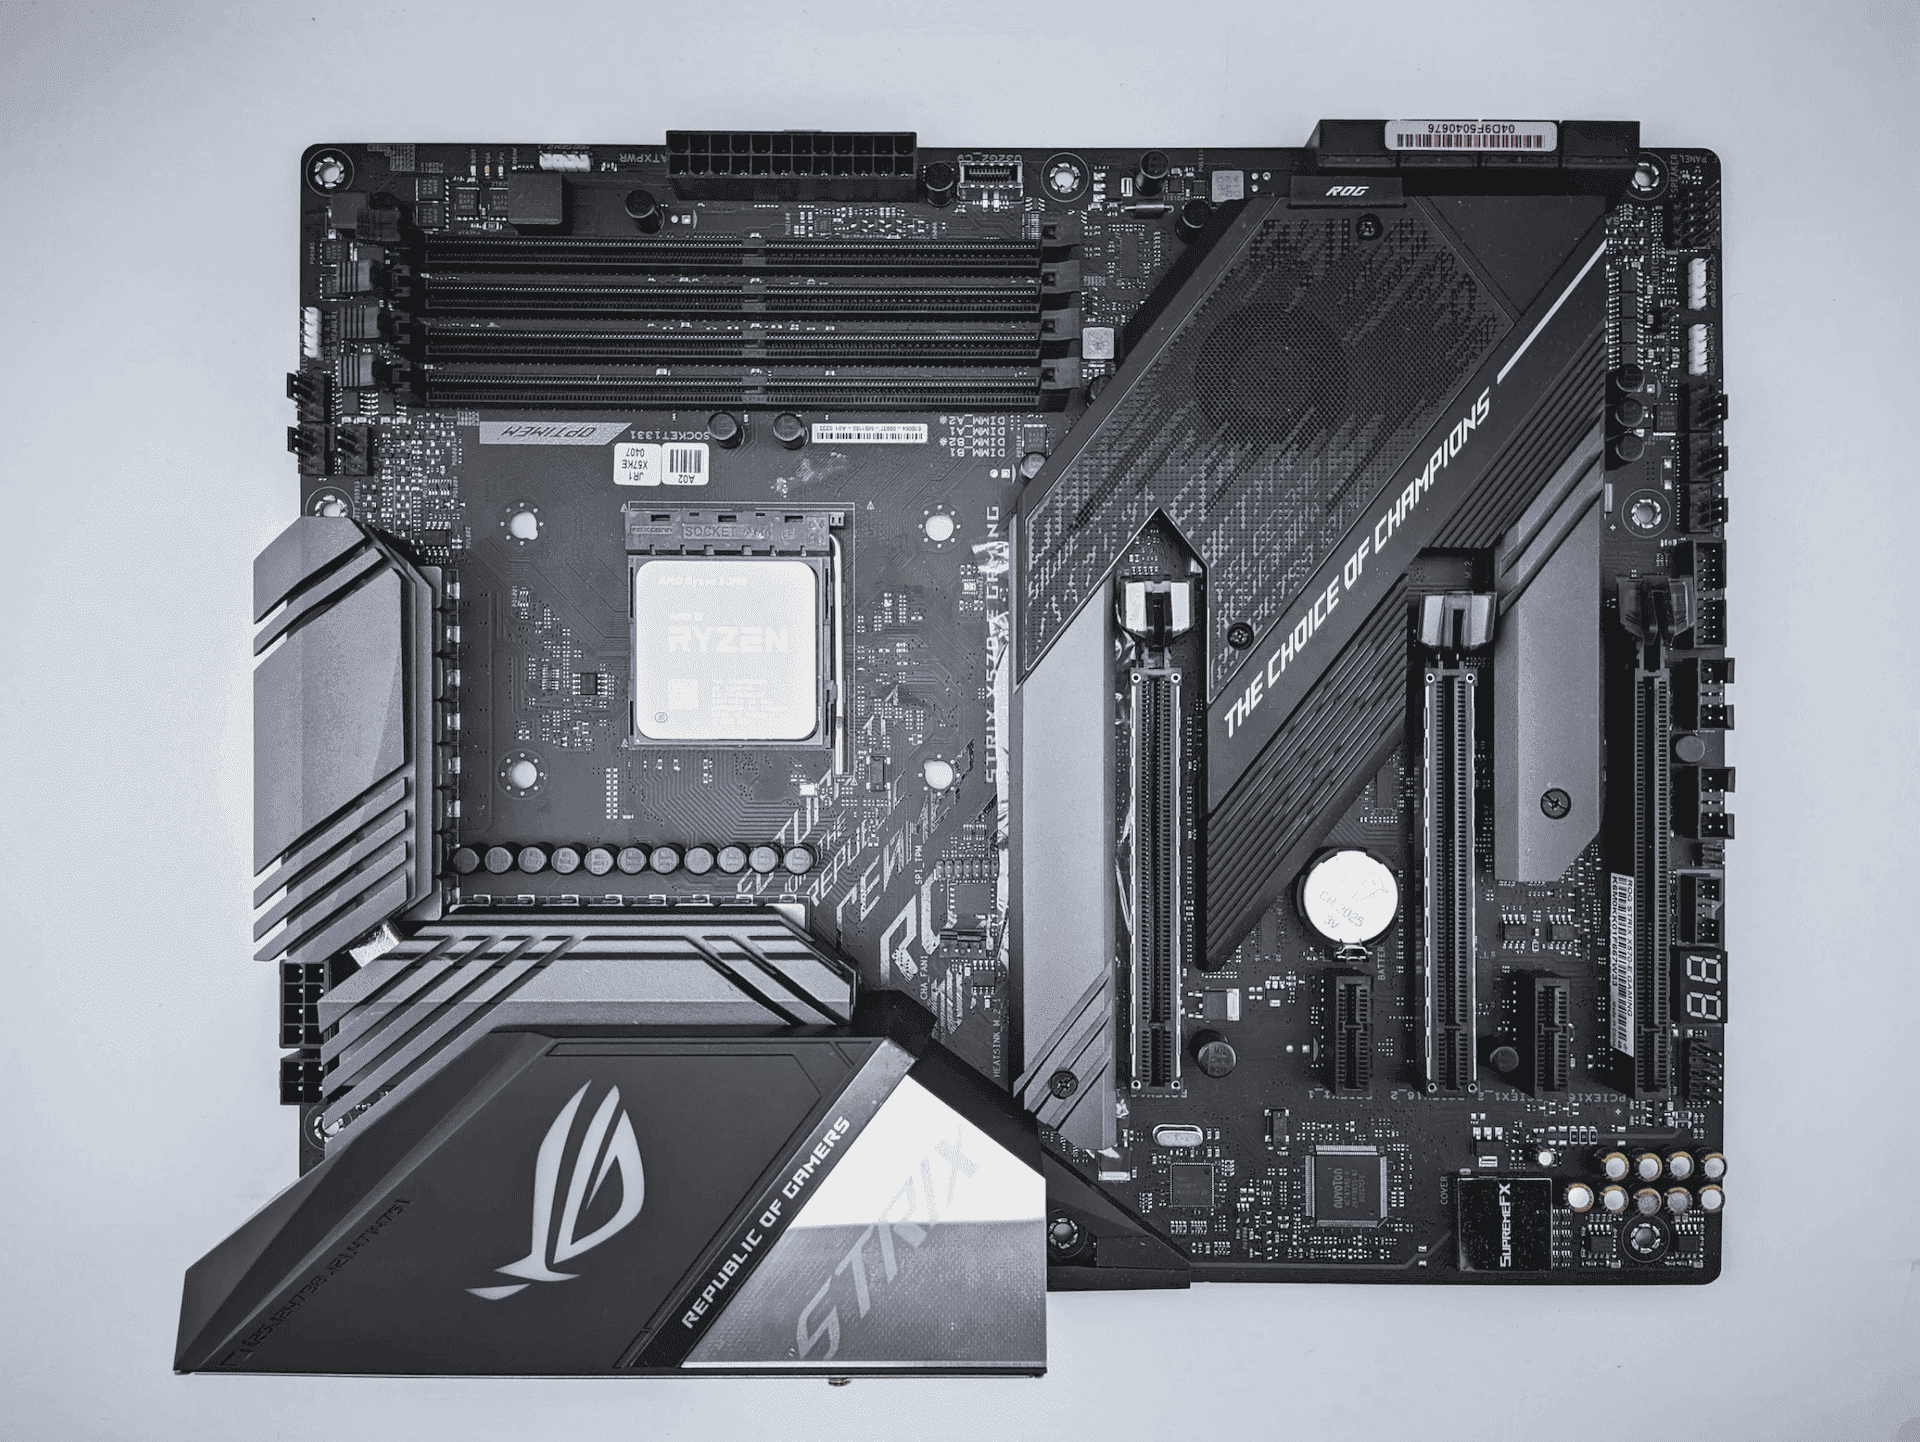
Motherboard
The motherboard connects all your components. Ensure it is compatible with your CPU and has the features you need.
Factors to Consider
- Socket Type: Must match your CPU (e.g., LGA1700 for Intel, AM5 for AMD).
- Chipset: Determines features like overclocking and PCIe lanes.
- Form Factor: ATX, Micro-ATX, or Mini-ITX depending on your case size.
- Features: Number of USB ports, PCIe slots, M.2 slots for SSDs, Wi-Fi connectivity.
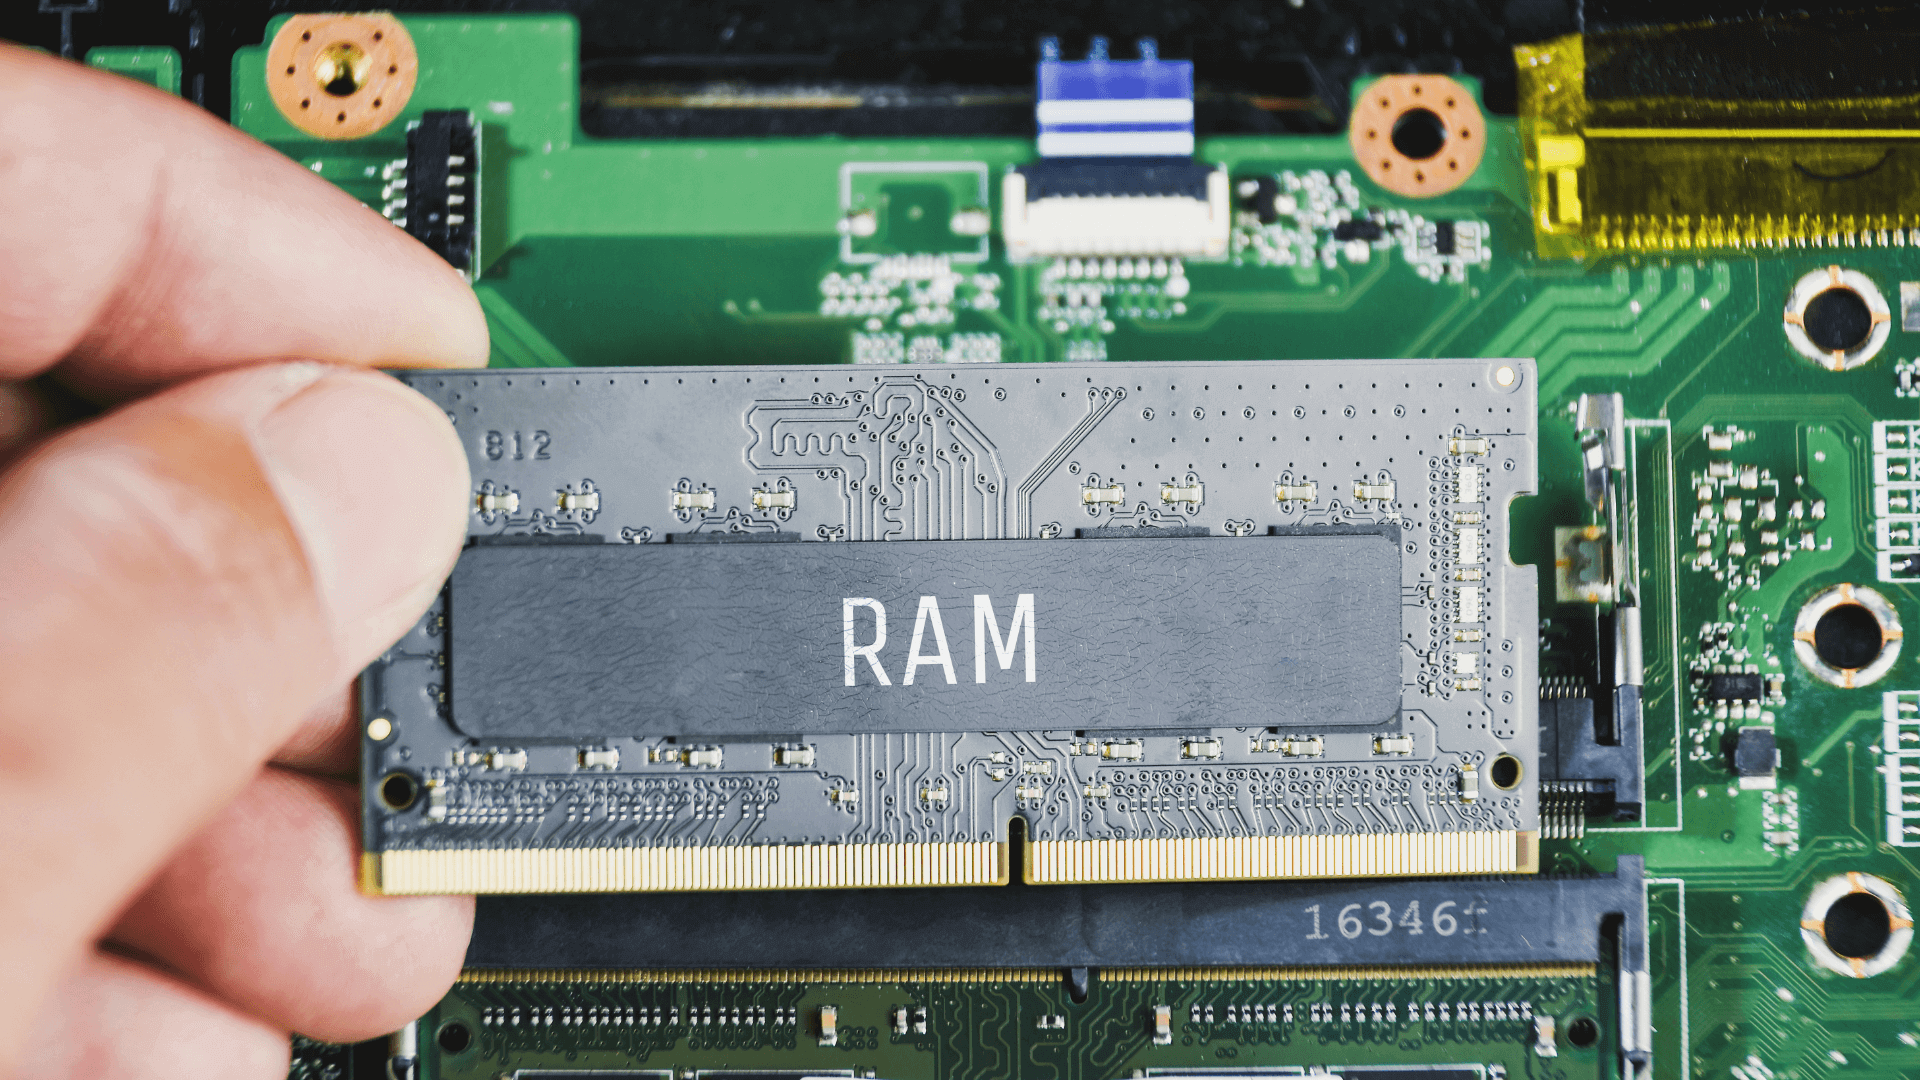
Memory (RAM)
RAM allows your computer to store data that is being used actively. For gaming, 16GB is the minimum recommended.
Factors to Consider
- Capacity: 16GB to 32GB
- Speed: DDR5 is the latest standard, with speeds starting at 4800MHz.
- Latency: Lower latency (CL) numbers are better.
- Dual-Channel vs. Single-Channel: Dual-channel offers better performance.
Storage
Decide between SSDs for speed and HDDs for capacity.
Types of Storage
- HDD (Hard Disk Drive): Larger capacity at a lower cost but slower.
- SATA SSD: Faster than HDD but slower than NVMe; uses SATA interface.
- NVMe SSD (M.2): Fastest storage solution; connects directly to PCIe lanes.

Recommended Storage Setup
- Primary Drive: 1TB NVMe M.2 SSD for operating system and games.
- Secondary Drive: 2TB HDD or SATA SSD for additional storage.
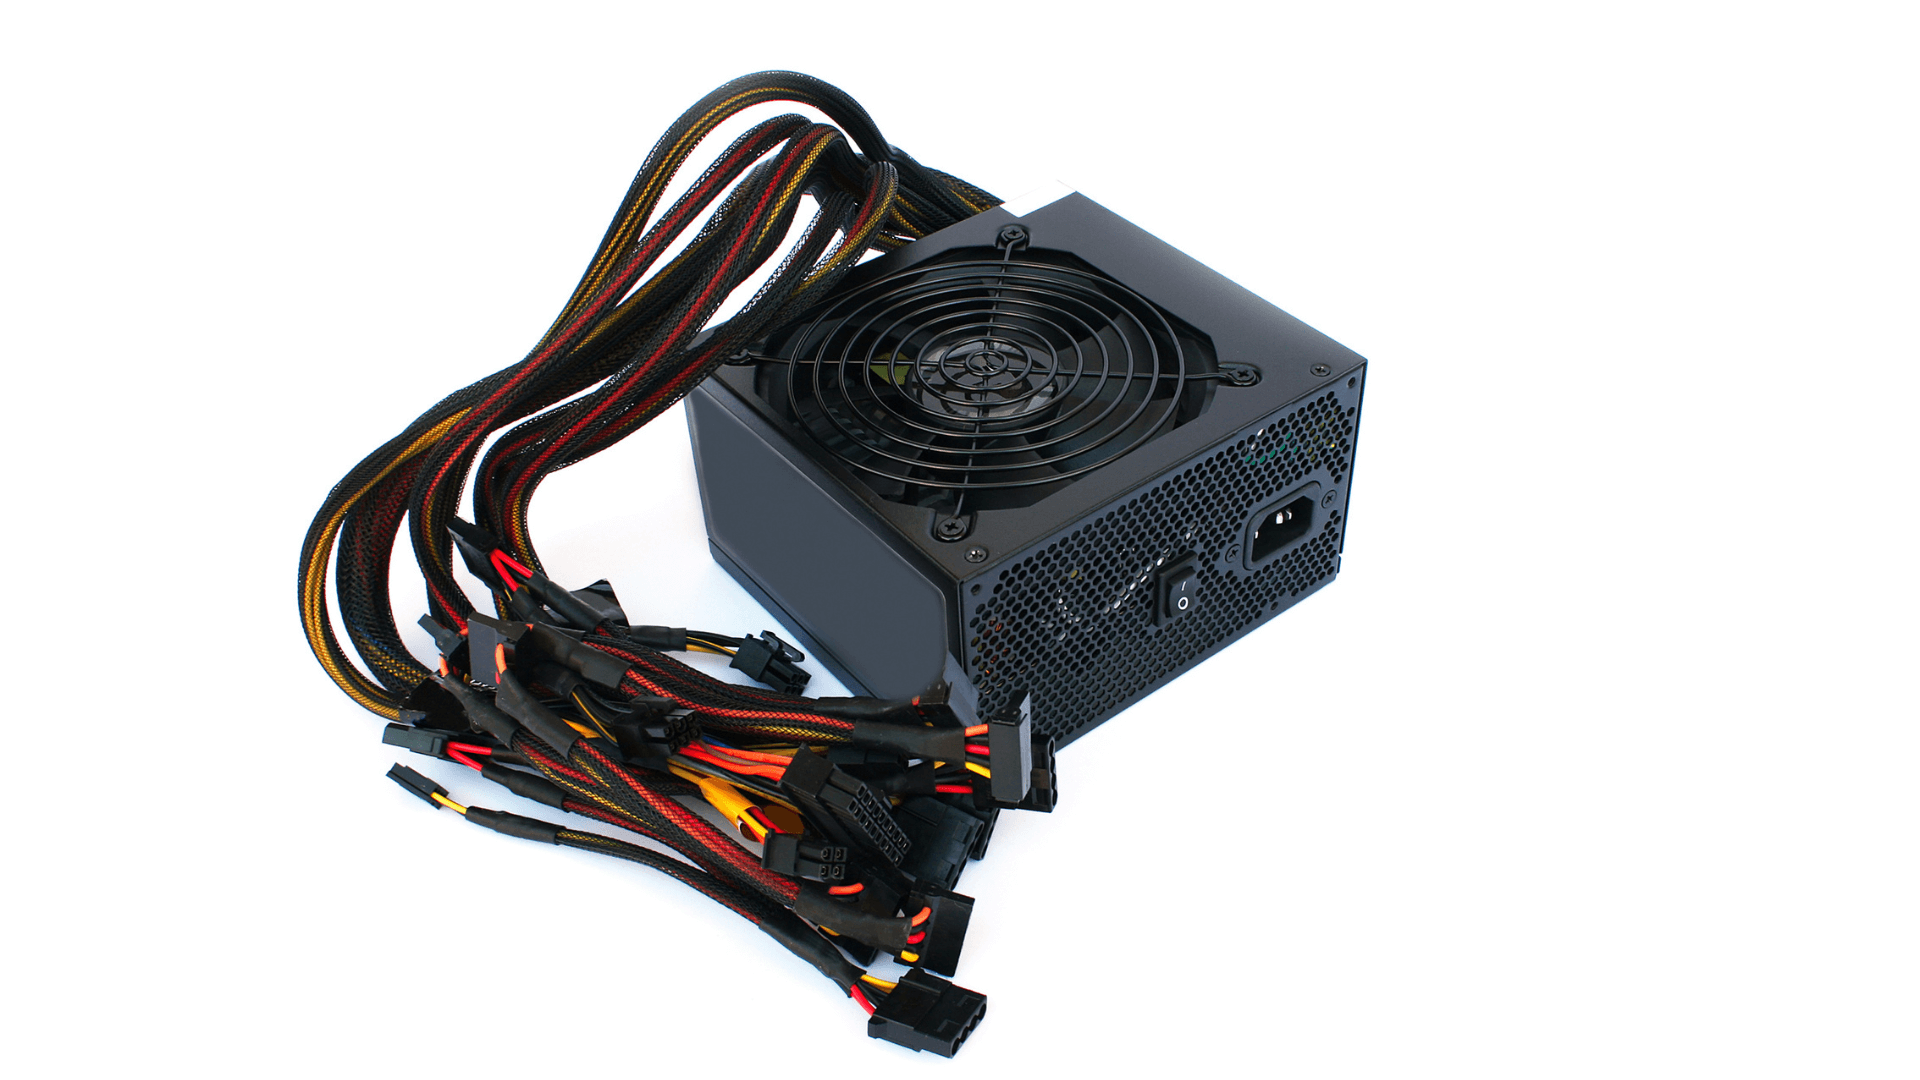
Power Supply Unit (PSU)
Provides power to all your components. A reliable PSU is crucial for system stability.
Factors to Consider
- Wattage: Use a PSU calculator to determine your needs (usually between 650W to 850W for gaming PCs).
- Efficiency Rating: Look for 80 Plus Bronze, Silver, Gold, or higher.
- Modularity: Modular PSUs help with cable management.
Case
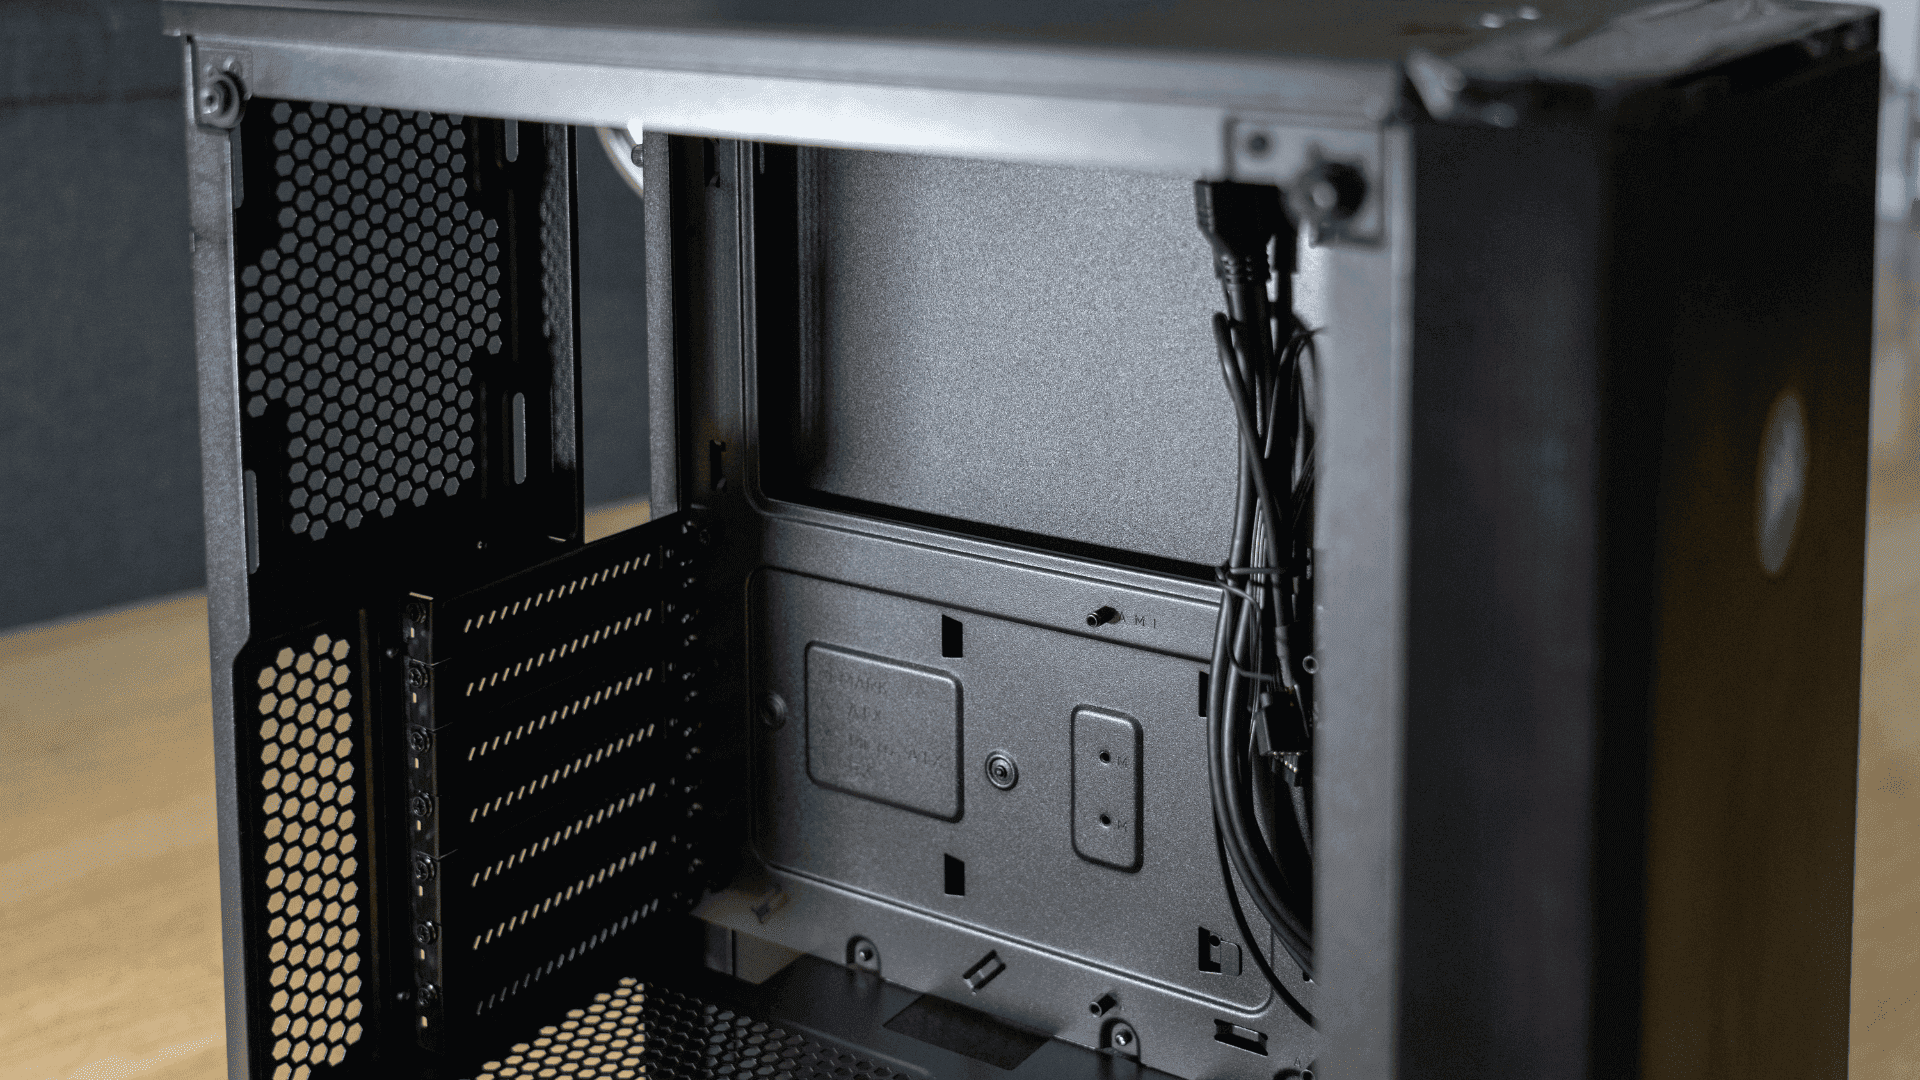
Choose a case that fits your components and provides good airflow.
Considerations
- Size: Ensure it fits your motherboard form factor.
- Airflow: Mesh fronts and multiple fan mounts improve cooling.
- Aesthetics: Choose a design that suits your style.
- Features: USB Type-C ports, tempered glass panels, dust filters.
Cooling System
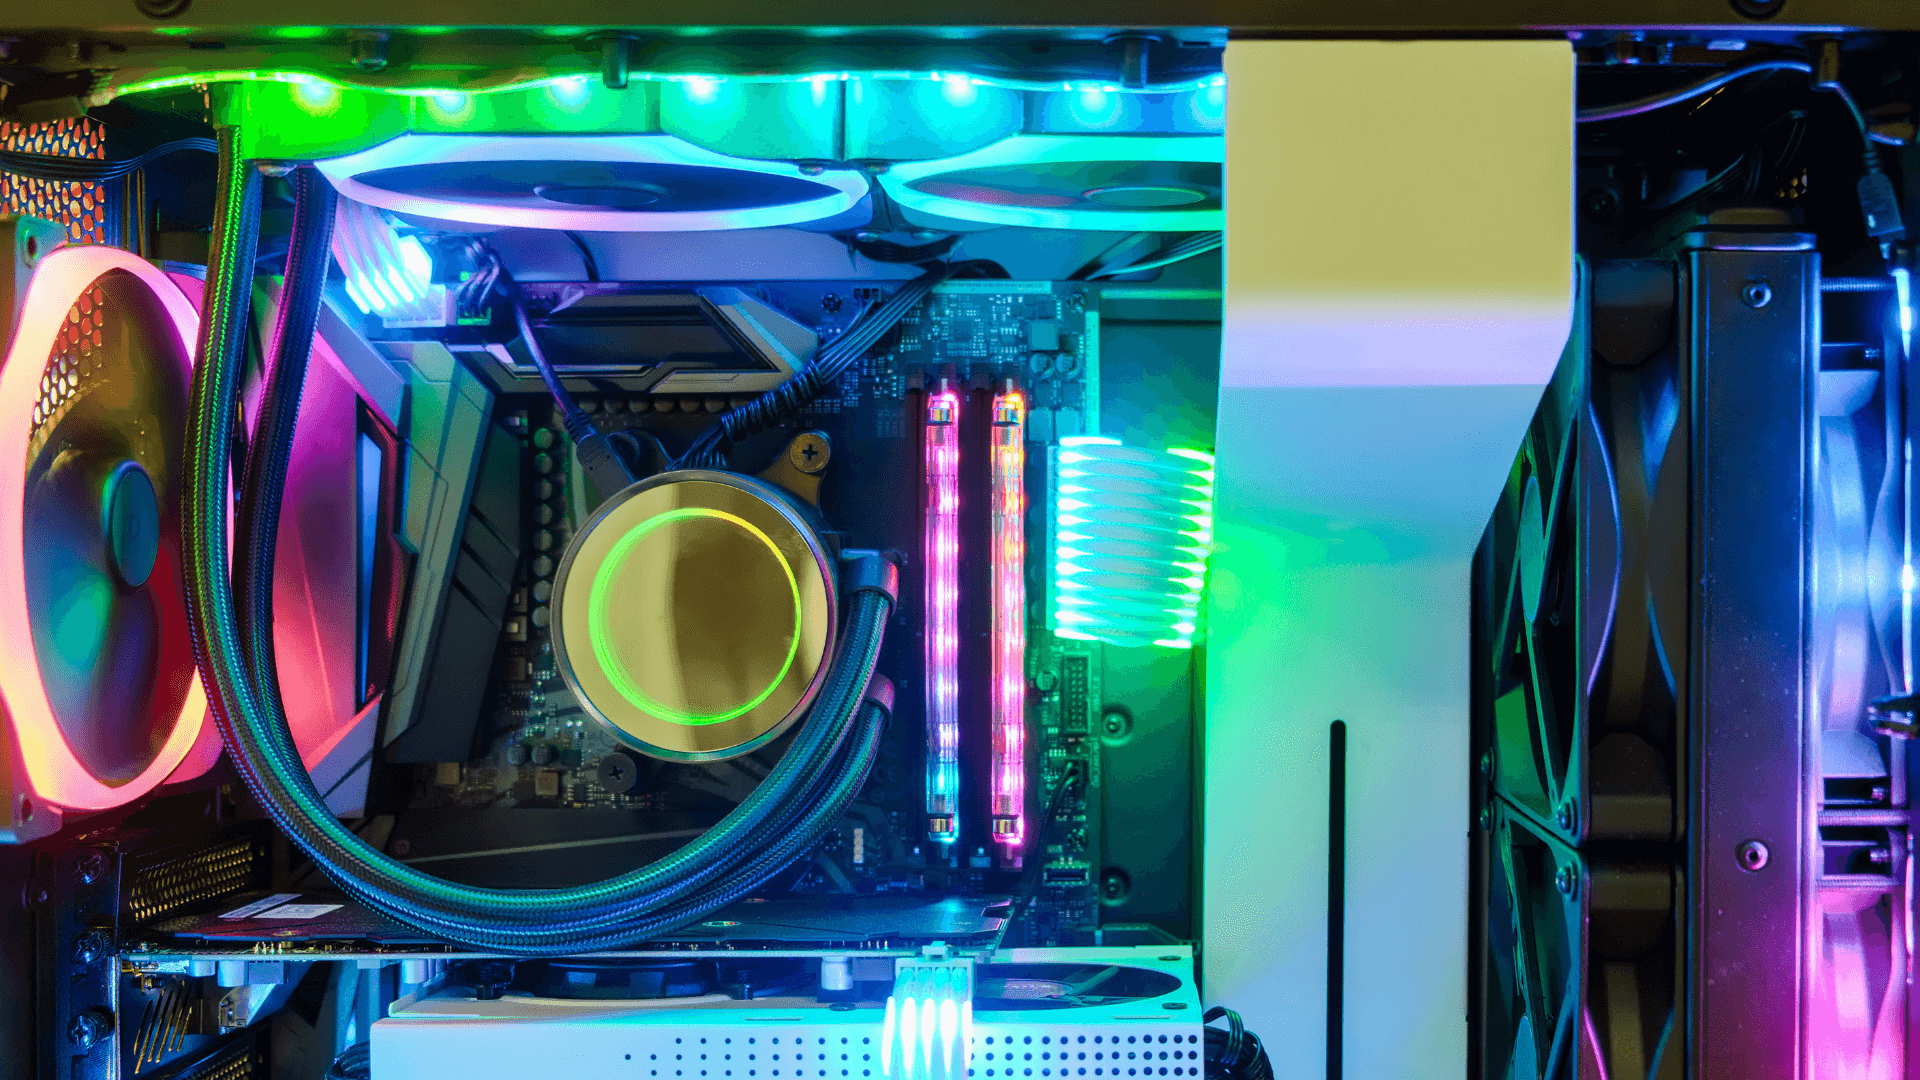
Keep your components cool to maintain performance.
Options
- Air Cooling: Tower coolers with heat pipes and fans.
- Liquid Cooling: All-in-one (AIO) liquid coolers for better thermal performance.
- Custom Loop Cooling: For enthusiasts; offers the best cooling but is complex.
Peripherals and Setup
Don't forget about monitors, keyboards, mice, and headsets!
- Monitor: High refresh rates (144Hz or above) for smooth gaming.
- Keyboard and Mouse: Mechanical keyboards and high-DPI mice improve responsiveness.
- Headset: Good audio enhances immersion and communication in multiplayer games.
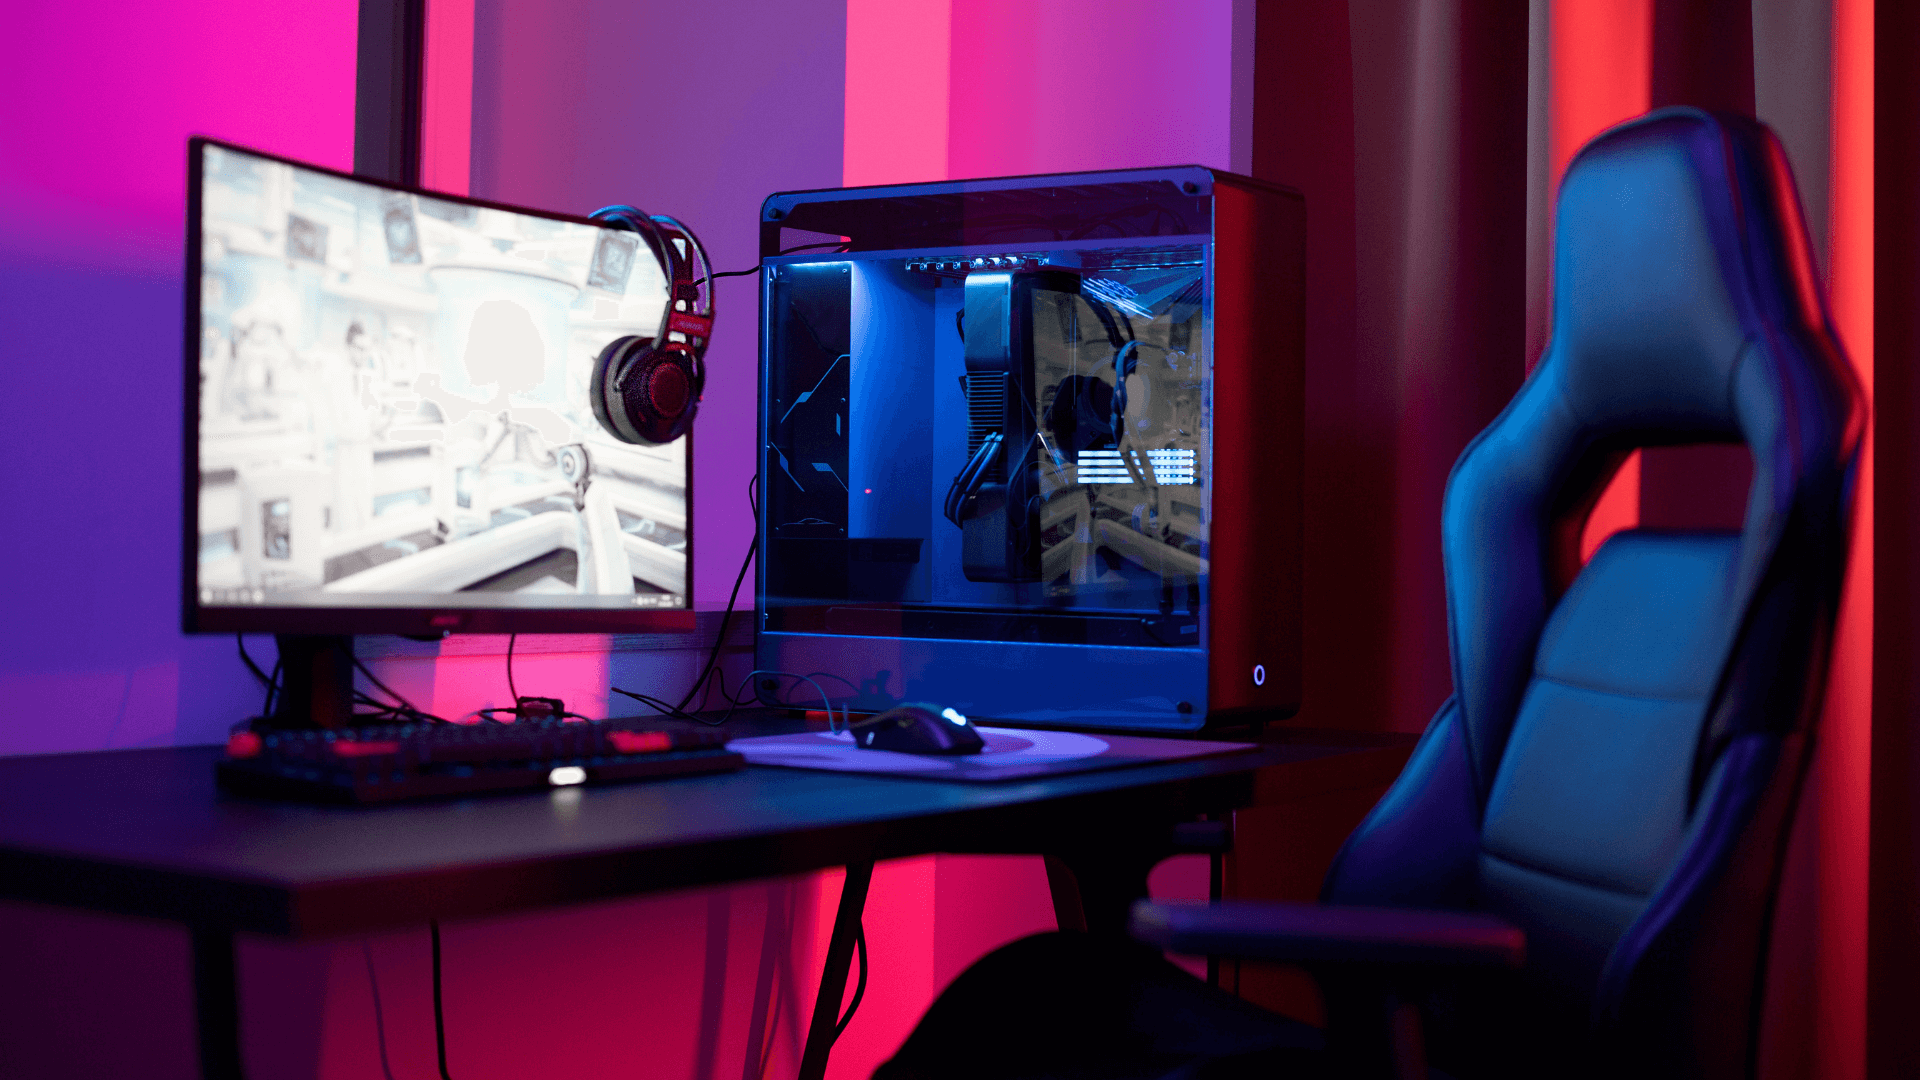
Make sure to take a look at our Best Gaming Setup Guide for the ultimate guide to get your gaming setup started!
Preparing Your Workspace
Let's get started building!
I recommend you watching GeekaWhat's YouTube Video below. But if you prefer reading, you can continue reading below the video.
Tools You'll Need
- Phillips-head Screwdriver: For most screws.
- Anti-Static Wrist Strap (Optional): Prevents static electricity damage.
- Cable Ties: For cable management.
- Thermal Paste (If Not Included with Cooler): For CPU cooler installation.
- Flashlight or Good Lighting: Helps see small connectors.
- Magnetic Parts Tray (Optional): Keeps screws organized.
Safety Precautions
- Work on a Clean Surface: Avoid carpets or rugs that can generate static electricity.
- Ground Yourself: Touch a metal object or wear an anti-static wrist strap.
- Handle Components Carefully: Avoid touching the gold contacts or circuitry.
Organizing Components
Unpack all your components and ensure nothing is missing. Keep screws and small parts organized.
Step-by-Step Assembly Guide
1. Install the CPU on the Motherboard
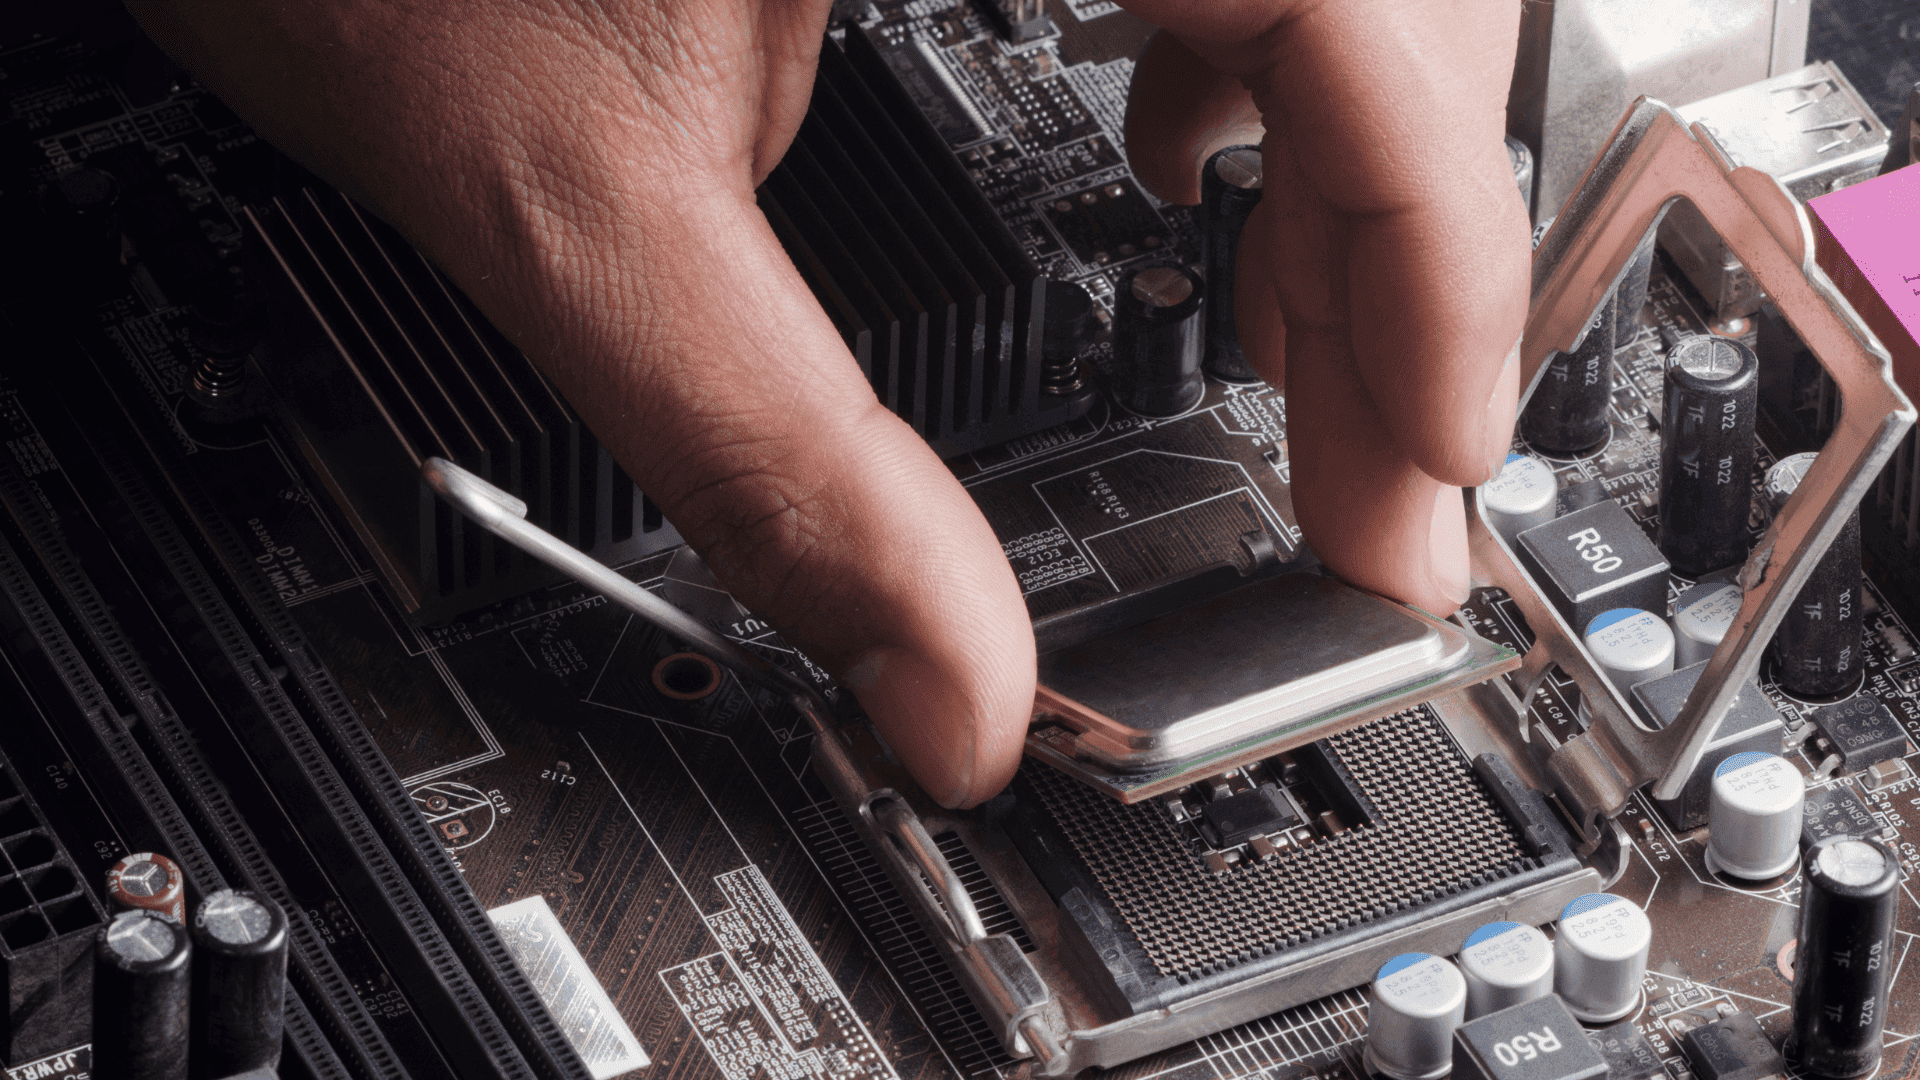
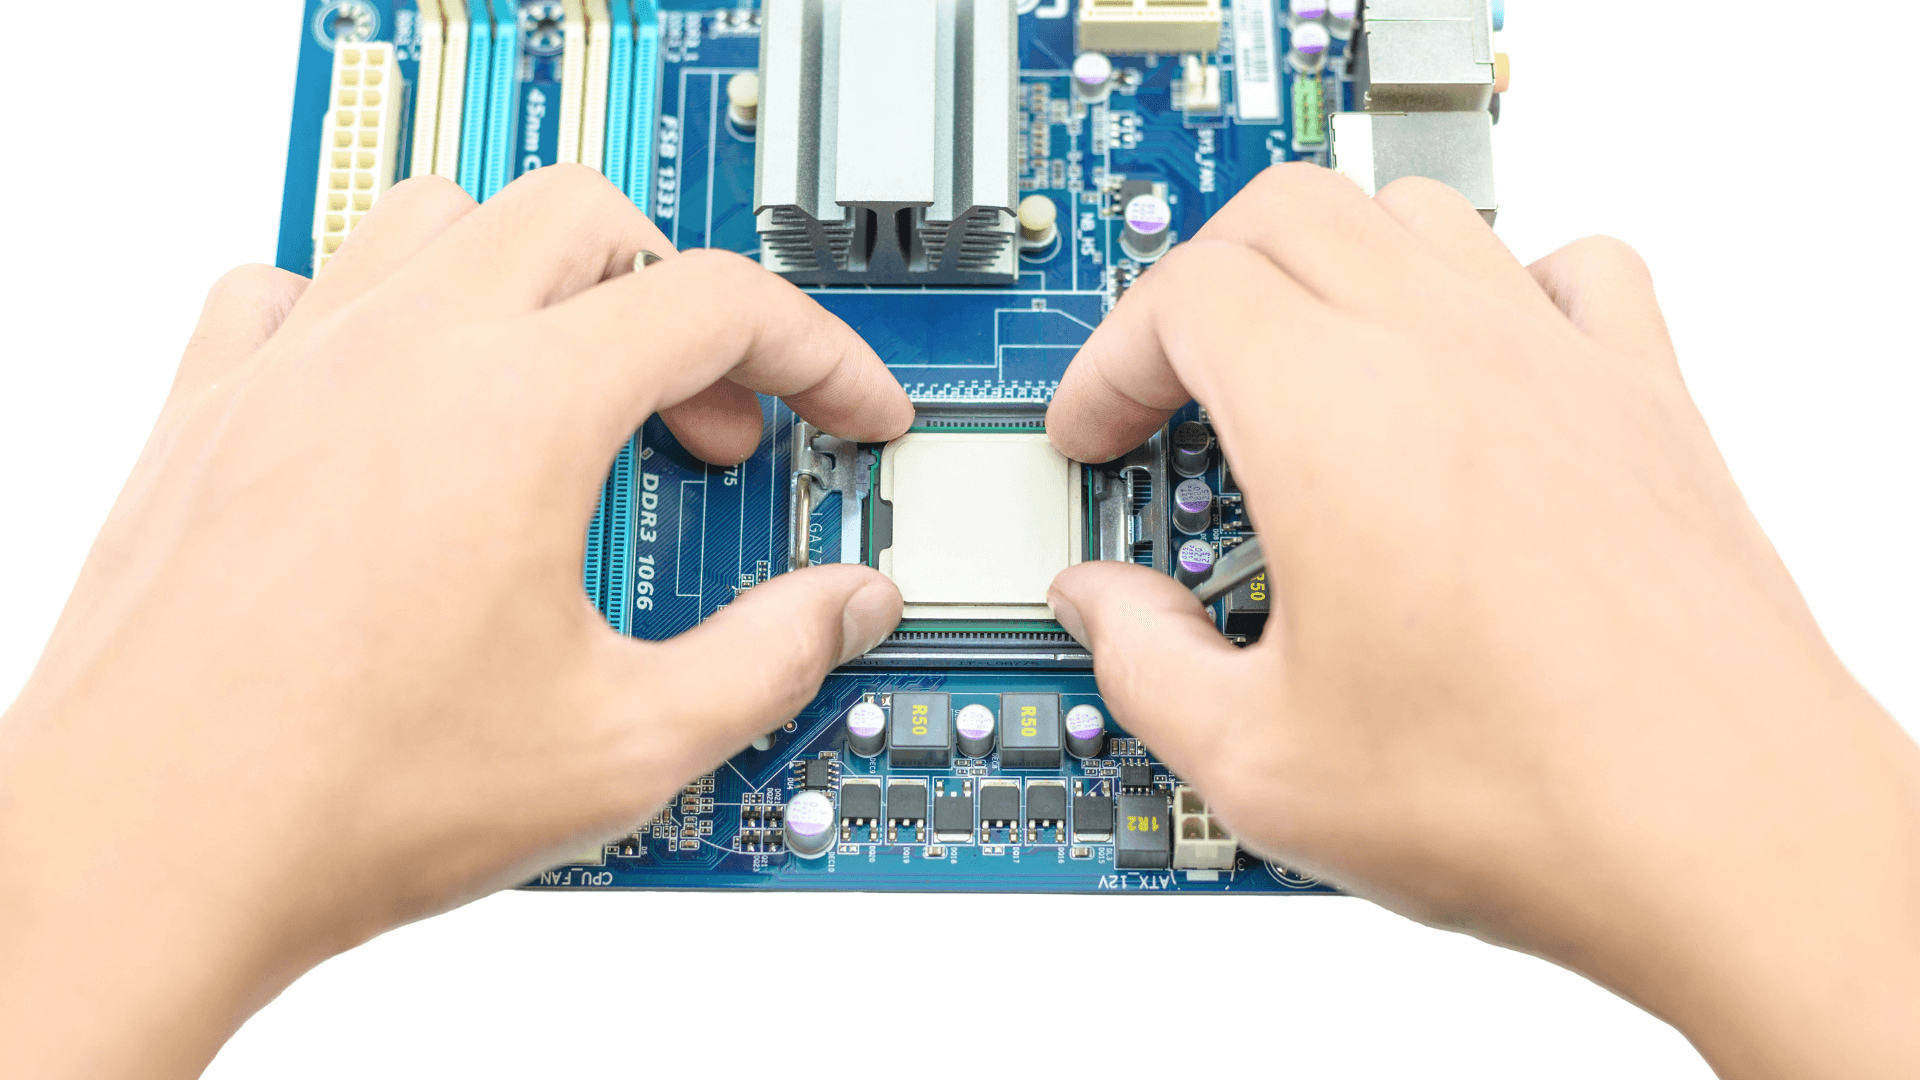
- Open the CPU Socket: Lift the retention arm.
- Align the CPU: Match the triangle marker on the CPU with the one on the socket.
- Place the CPU: Gently lower it into the socket without forcing it.
- Secure the CPU: Lower the retention arm back into place.
Tips:
- Do not touch the pins on the CPU or socket.
- If using an AMD CPU, the pins are on the CPU; handle with extra care.
- Ensure the CPU is seated flat; do not apply excessive force.
2. Install the RAM
- Open RAM Slots: Push down the clips at the ends.
- Align the RAM Stick: Match the notch in the RAM with the ridge in the slot.
- Insert the RAM: Press down firmly until the clips snap back up.
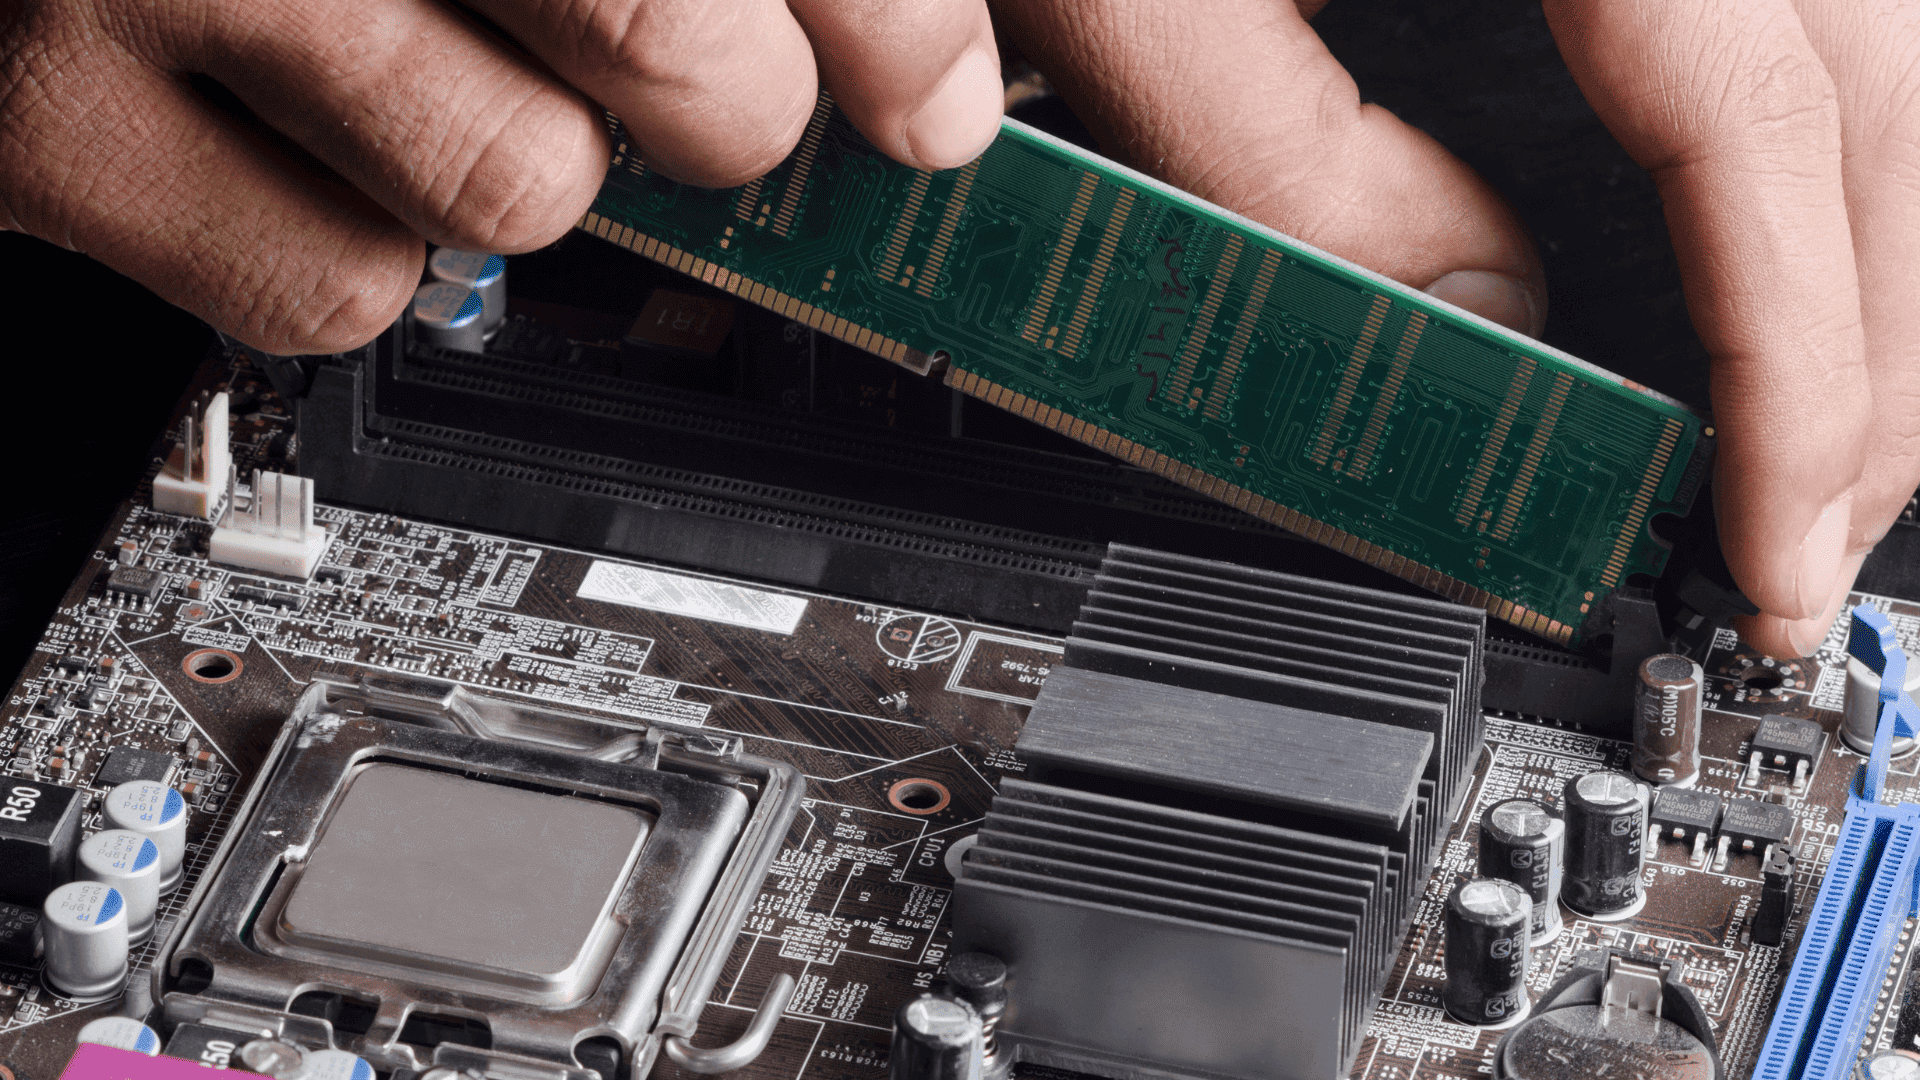
Tips:
- Consult the motherboard manual for the correct slots to use for dual-channel configuration.
- Ensure both sides of the RAM click into place.
3. Install the M.2 SSD (If Applicable)
- Locate the M.2 Slot: Refer to your motherboard manual.
- Remove the Screw: Take out the tiny screw at the end of the slot.
- Insert the SSD: Slide it in at a slight angle (about 30 degrees).
- Secure the SSD: Gently press it down and screw it in place.
Tips:
- Some motherboards come with an M.2 heatsink; attach it if available.
- Be careful not to overtighten the screw.
4. Mount the Motherboard into the Case
- Install the I/O Shield: Snap it into the case from the inside.
- Align the Motherboard: Line up the screw holes with the standoffs in the case.
- Secure the Motherboard: Use the provided screws, but don't over-tighten.
Tips:
- Double-check that all standoffs are correctly placed.
- Ensure no cables are trapped underneath the motherboard.
5. Install the Power Supply
- Position the PSU: Place it in the PSU shroud or designated area, usually at the bottom.
- Orient the PSU Fan: If your case has a bottom vent, face the PSU fan downward.
- Secure the PSU: Use the screws provided.
Tips:
- Use modular or semi-modular PSUs to reduce cable clutter.
- Route necessary cables before securing the PSU.
6. Connect Case Cables to the Motherboard
- Front Panel Connectors: Power switch, reset switch, HDD LED, power LED.
- USB Headers: For front USB ports (USB 2.0, USB 3.0, USB Type-C).
- Audio Header: For front audio jacks.
Tips:
- Refer to the motherboard manual for exact pin layouts.
- These connectors are small; use tweezers if necessary.
7. Install the CPU Cooler
- Apply Thermal Paste: If not pre-applied, a pea-sized dot in the center of the CPU.
- Mount the Cooler: Follow the manufacturer's instructions.
- Air Cooler: Align and secure using the provided brackets.
- Liquid Cooler: Mount the radiator and pump/block as instructed.
- Connect Fan Header: Plug the fan into the CPU_FAN header on the motherboard.
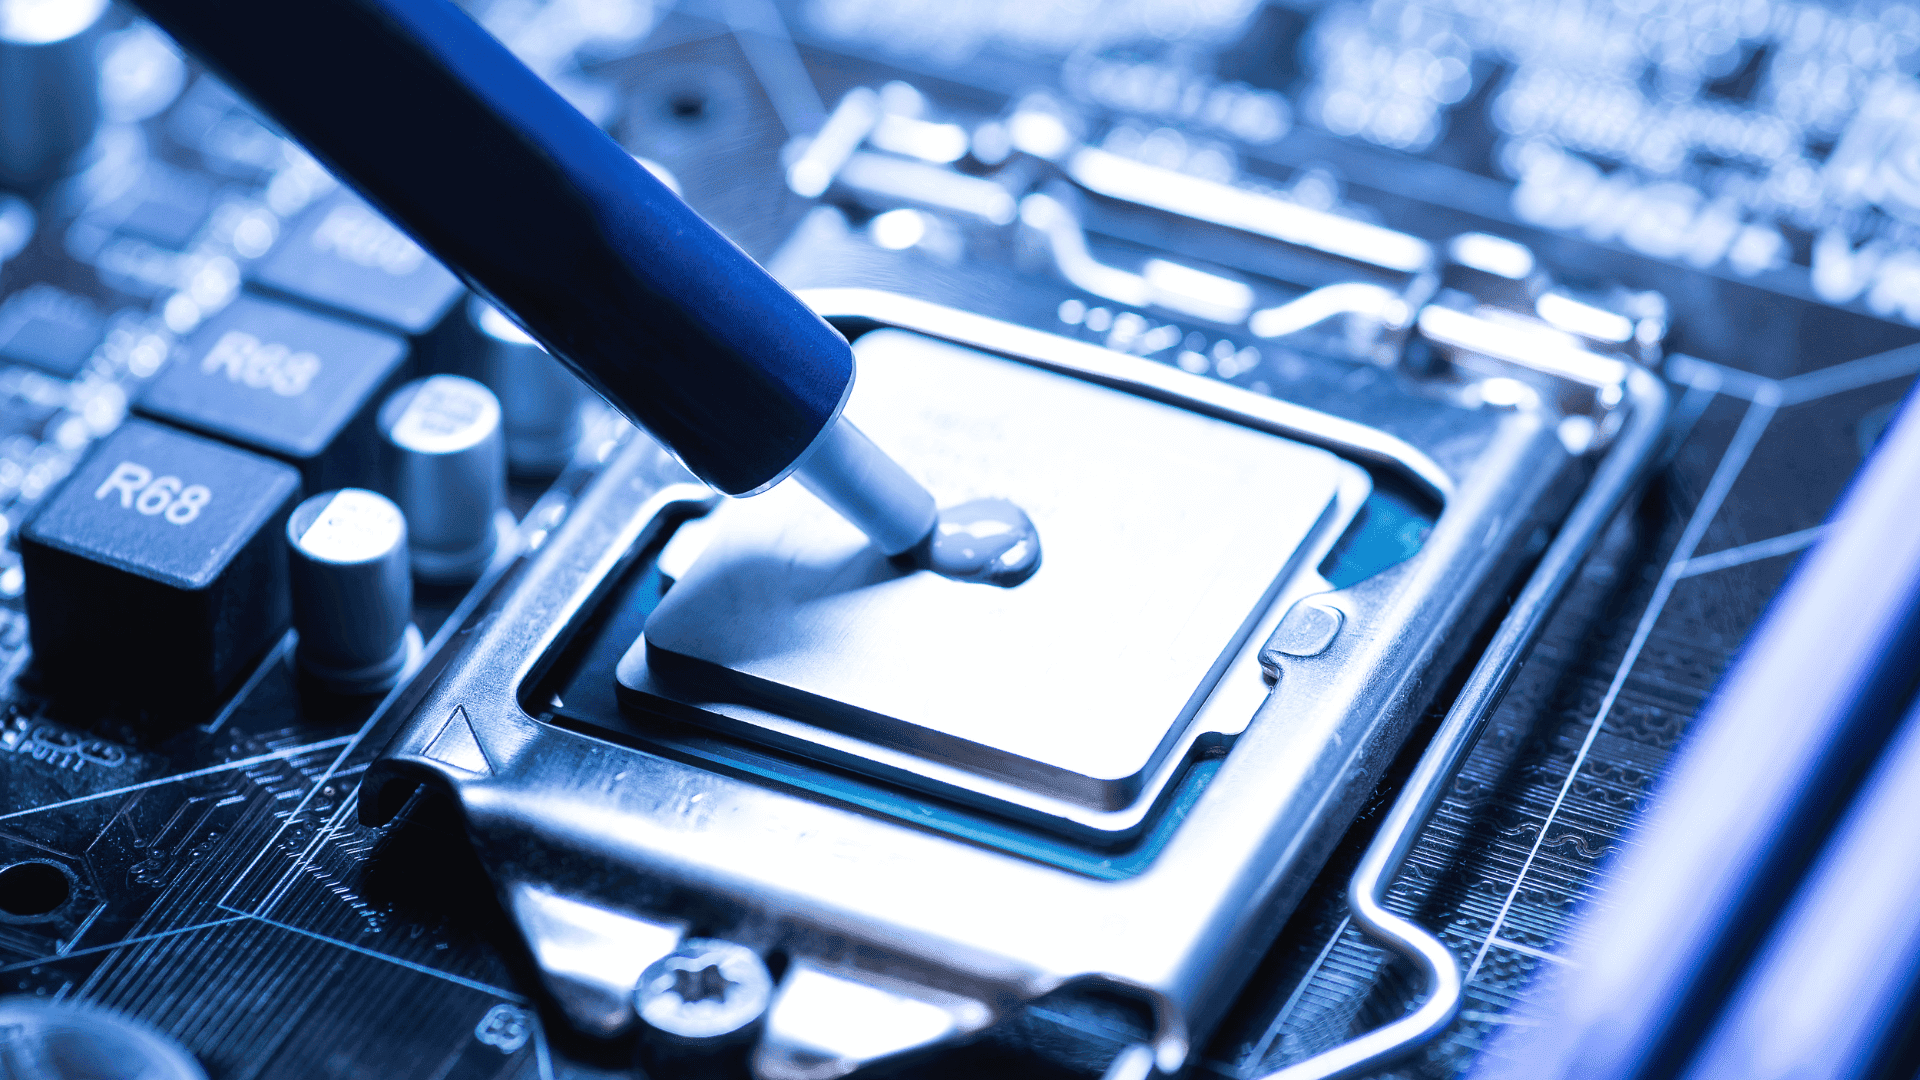
Tips:
- Do not use too much thermal paste; it can decrease cooling efficiency.
- Ensure the cooler is securely fastened but do not over-tighten.
8. Install Additional Storage Drives
- Mount the Drive: Use the appropriate bay or bracket.
- 3.5-inch HDD: Typically tool-less trays or screws.
- 2.5-inch SSD: May require screws or mounting brackets.
- Connect SATA Cables:
- Data Cable: Connect to motherboard SATA port.
- Power Cable: Connect to PSU SATA power connector.
Tips:
- Plan cable routing for better airflow and aesthetics.
- Label cables if necessary to keep track.
9. Install the Graphics Card
- Remove PCIe Slot Covers: Corresponding to the GPU size (usually 2 or 3 slots).
- Insert the GPU: Into the top PCIe x16 slot.
- Secure the GPU: Screw it into the case.
- Connect Power Cables: From the PSU to the GPU (6-pin, 8-pin, or both).
Tips:
- Ensure the GPU is fully seated; you should hear a click.
- Avoid sagging by securing all screws tightly.
10. Cable Management
- Organize Cables: Use cable ties to bundle excess cables.
- Route Behind Motherboard Tray: Most cases have space behind the motherboard.
- Maintain Airflow: Keep cables away from fans and vents.
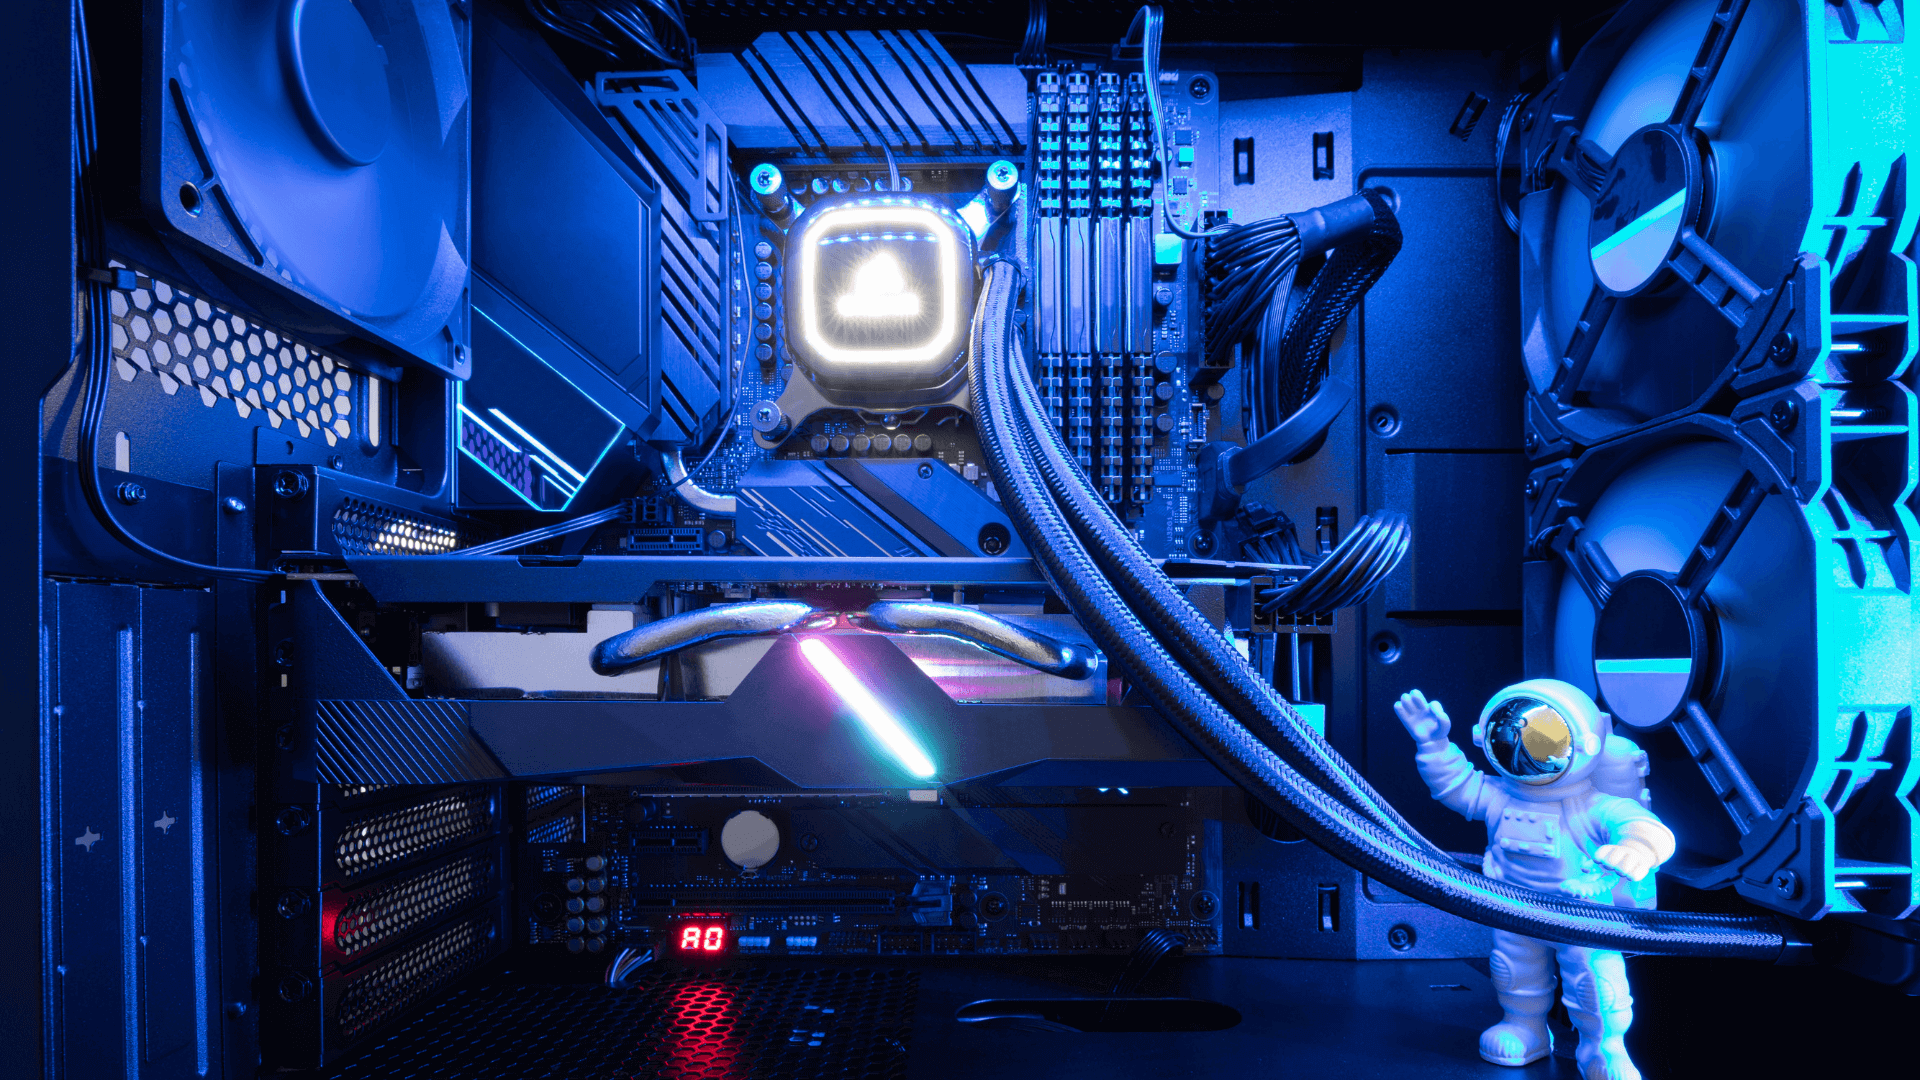
Tips:
- Use Velcro straps for easy adjustments later.
- Plan your cable paths before securing them.
First Boot and BIOS Configuration
Powering On
- Double-Check Connections: Ensure everything is plugged in correctly.
- Connect Peripherals: Monitor, keyboard, and mouse.
- Turn On the Power Supply: Switch on the PSU.
- Press the Power Button: On the case.
BIOS Setup
- Access BIOS/UEFI: Press the designated key during startup (usually Del, F2, or F12).
- Check Component Recognition:
- CPU: Ensure it's correctly identified.
- RAM: Verify total capacity and enable XMP/DOCP profile for correct speed.
- Storage Drives: Confirm all drives are detected.
- Set Boot Priority: Ensure your USB drive is first if installing OS via USB.
Tips:
- Update BIOS to the latest version if necessary.
- Monitor CPU and system temperatures.
Installing the Operating System and Drivers
Installing the OS
- Create Bootable Media: Use a USB drive with the OS installer.
- Boot from USB: Set boot priority or use boot menu.
- Follow On-Screen Instructions: Select language, agree to terms, choose installation drive.
- Partitioning: Create partitions if desired.
- Complete Installation: The PC will restart several times.
Tips:
- Disconnect other storage drives to avoid installing the OS on the wrong drive.
- Keep your product key handy for activation.
Installing Drivers
- Motherboard Drivers: From the manufacturer's website (chipset, LAN, audio).
- GPU Drivers: From NVIDIA or AMD's official site.
- Additional Drivers: For peripherals like keyboards, mice, or Wi-Fi cards.
- Windows Update: Run to ensure all system updates are installed.
Tips:
- Install drivers in the recommended order, usually starting with the chipset.
- Create a restore point before installing drivers.
Optimizing and Testing Performance
Running Benchmarks
- Cinebench: For CPU performance.
- 3DMark: For GPU performance.
- CrystalDiskMark: For storage speed.
- UserBenchmark: Overall system performance.
Monitoring Temperatures
- Software Tools: HWMonitor, MSI Afterburner, NZXT CAM.
- Ideal Temperatures:
- CPU: Idle (30-40°C), Load (up to 85°C)
- GPU: Idle (30-40°C), Load (up to 85°C)
Overclocking (Optional)
- CPU Overclocking:
- Access BIOS: Adjust multiplier and voltage carefully.
- Test Stability: Use Prime95 or AIDA64.
- GPU Overclocking:
- Software: Use MSI Afterburner or EVGA Precision X1.
- Adjust Core Clock and Memory Clock: Incrementally increase and test.
- Stress Testing: Ensure stability with prolonged testing.
Tips:
- Overclocking voids warranties; proceed with caution.
- Always monitor temperatures to prevent overheating.
Troubleshooting Common Issues
No Power
- Check PSU Switch: Ensure it's on.
- Verify Power Cable: Connected securely to the PSU and outlet.
- Inspect Power Button Connection: To the motherboard.
- Test with Different Outlet: Rule out power source issues.
No Display
- Ensure Monitor is On: And set to the correct input.
- Check GPU Connection: Properly seated and powered.
- Verify Cable Connections: HDMI or DisplayPort securely connected.
- Try Integrated Graphics: Remove GPU and connect monitor to motherboard.
System Instability
- Update BIOS: To the latest version.
- Check RAM Seating: Re-seat modules if necessary.
- Run Memory Diagnostics: Use Windows Memory Diagnostic tool.
- Check Temperatures: Overheating can cause instability.
- Driver Conflicts: Reinstall or update drivers.
Boot Loop or Blue Screen
- Safe Mode: Boot into safe mode to diagnose.
- Restore Point: Roll back to a previous stable state.
- Check Storage Devices: Faulty drives can cause issues.
Maintaining and Upgrading Your PC
Regular Cleaning
- Dust Removal: Use compressed air every few months.
- Fan Maintenance: Ensure fans are spinning freely.
- Filter Cleaning: Remove and clean dust filters.
Software Updates
- Keep Drivers Updated: For optimal performance.
- Windows Updates: Install important updates regularly.
- Software Maintenance: Uninstall unused programs.
Planning Upgrades
- Monitor Performance: Identify bottlenecks using performance monitors.
- Stay Informed: About new hardware releases.
- Compatibility Checks: Ensure new components are compatible.
Backup Important Data
- Use External Drives: For backups.
- Cloud Storage: Services like Google Drive or Dropbox.
- Regular Schedule: Set up automatic backups.
Conclusion
Congratulations! You've built your own gaming PC. Not only have you saved money, but you've also gained valuable knowledge about your system. Enjoy high-performance gaming, and don't hesitate to tweak and upgrade your PC as your needs evolve. Building a PC is not just a one-time task but the beginning of an exciting journey into the world of custom computing.
Frequently Asked Questions (FAQs)
Is building a gaming PC cheaper than buying one?
- Answer: Often, yes. Building your own PC can be more cost-effective because you can choose components that offer the best value and avoid paying for unnecessary features.
How long does it take to build a gaming PC?
- Answer: For beginners, it can take anywhere from 3 to 5 hours, including setup and troubleshooting.
Do I need an anti-static wrist strap?
- Answer: While not absolutely necessary, using one can prevent static electricity from damaging sensitive components.
Can I use a TV as my monitor?
- Answer: Yes, but TVs may have higher input lag and lower refresh rates compared to monitors, which can affect gaming performance.
How often should I upgrade my PC?
- Answer: It depends on your needs. Generally, upgrading every 2-3 years keeps your system up-to-date with the latest technology.
Ready to take your gaming experience to the next level? Start building your custom gaming PC today and join the community of gamers who enjoy unmatched performance and customization. Happy gaming!